
Donec efficitur, ligula ut lacinia
viverra, lorem lacus.
Donec efficitur, ligula ut lacinia
viverra, lorem lacus.
Most photographers don’t fall in love with available light — they get forced into it. No strobes on a hike. No modifiers at a family session in someone’s backyard. You show up, look around, and the sun is doing whatever it wants. Learning to read that light instead of fighting it is the actual skill here, and it’s the one thing a studio setup can’t teach you.
This guide walks through how daylight behaves, when to shoot, what camera settings actually matter, and where beginners lose the shot without realizing why.
Shooting with available light just means working with whatever’s already there — sun, sky, a window, streetlamp glow bouncing off wet pavement. No flash, no continuous LED panel, no softbox.
That sounds simple. It isn’t. A studio light stays put. The sun moves roughly 15 degrees an hour and shifts color temperature the whole time it does it. You’re not setting up a light — you’re chasing one.
Flash gives you control. Pick the angle, the power, the color temp, and it holds for the next 200 frames. Daylight gives you none of that. It shifts if a cloud rolls in, if you turn 30 degrees, if twenty minutes pass.
The tradeoff is worth it, though. A flash photo can look lit. Shot right, an image looks like nothing was done to it at all — which is exactly why clients ask for it on portrait sessions and lifestyle work.
Cost is part of it — no gear to haul, no batteries to charge. But the bigger reason is honesty of look. A window-lit portrait has a falloff and shadow shape that’s tough to fake with an off-camera flash unless you really know modifiers. Clients notice, even when they can’t say why.
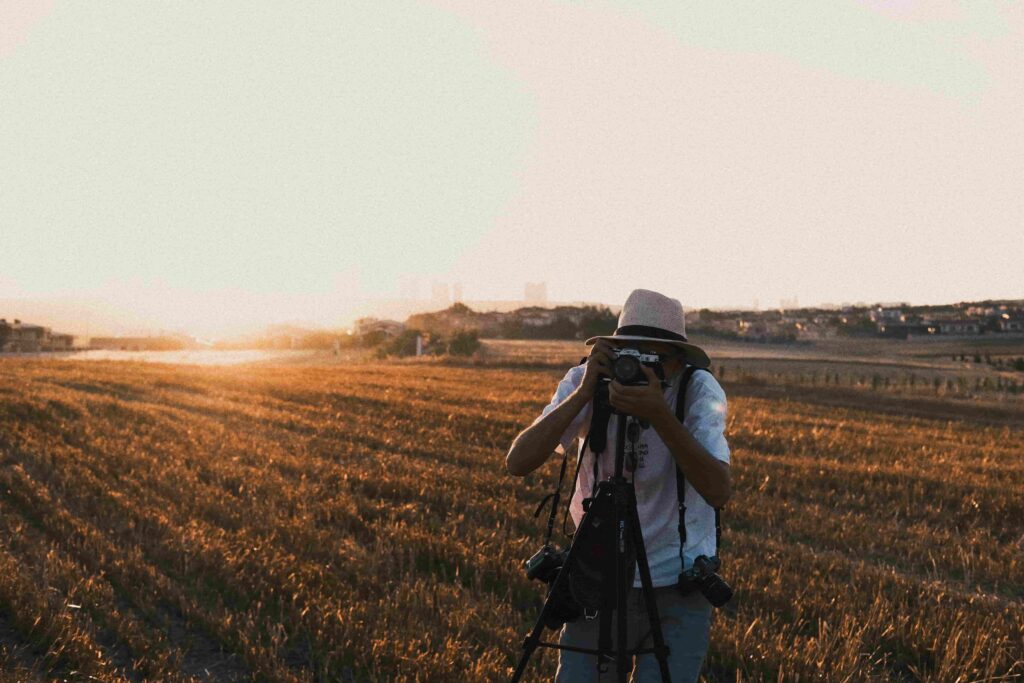
You don’t manufacture light — you position for it. That’s the mental shift that trips up beginners coming from flash work. Instead of adding a source, you move your subject, or yourself, until what’s already there does what you need. Small adjustment, big difference: turn someone 20 degrees toward a window and you go from flat to flattering in one move.
Front light flattens a face — fine for a passport photo, boring for a portrait. Side light carves out cheekbones and a jawline because it throws shadow across half the face. Backlight rims the subject and can blow the background into a soft glow, which is why it’s the go-to setup for golden hour portraits.
Direction matters more than intensity. A dim, well-directed light source beats a bright, flat one almost every time.
Midday sun with no clouds is hard light — small source relative to the subject, sharp edges, high contrast. Unforgiving on skin. Overcast skies turn the whole sky into one giant softbox, which is why photographers quietly root for a cloudy day. If you want to actually control hard light instead of avoiding it, there’s a deeper breakdown of the technique here — it’s not always the enemy people think it is.
Time of day is the single biggest variable you control without touching a dial.
The hour after sunrise and before sunset. Light comes in low and warm — color temp drops to around 3000–3500K — and shadows stretch long instead of stacking straight down. Flattering on skin, which is why every wedding timeline blocks it out for portraits.
Right after sunset, before it’s fully dark. Sky goes a deep blue, ambient light turns soft and even, and any artificial lighting in frame — string lights, window glow — reads warm against that cool sky. Underused, mostly because it only lasts 20–30 minutes.
Harsh. Shadows fall straight down under the eyes and nose. Not impossible to shoot in — open shade under a tree or awning fixes most of it — but it’s the least forgiving window of the day for portraiture.
This is the free diffuser everyone wishes they could buy. Even lighting, no harsh shadows, colors read true instead of blowing out. Landscape shooters complain about a flat sky on an overcast day. Portrait shooters quietly celebrate the quality of light it hands them.
Settings shift constantly here because the light never sits still.
Wide aperture — f/1.8 to f/2.8 — pulls in light fast, which matters at dusk or in shade, and separates your subject from the background with shallow depth of field. Stop down to f/8 or f/11 for landscapes where you need the whole scene sharp. If aperture, shutter speed, and ISO still feel like a juggling act, this walks through how the three actually interact.
Keep ISO as low as conditions allow — 100 to 400 outdoors in daylight — because every stop up adds visible noise. Shutter speed needs to stay above 1/125s for handheld portraits, higher if your subject moves. Push ISO to 1600 or 3200 at blue hour before dropping shutter speed low enough to invite blur. That tradeoff order matters more than people think.
JPEG bakes in a white balance decision at capture. RAW doesn’t. Color shifts constantly outdoors — cloud cover, time of day, reflected color off a building — and RAW lets you fix that after the fact without wrecking the file. Overexpose a JPEG highlight by even half a stop and it’s gone for good; RAW gives you a little more room to pull it back.
A $20 five-in-one reflector does more for portrait quality than most gear upgrades. Angle the white side into the shadow side of the face, and it bounces just enough back in to hold detail in the eyes. Gold side warms skin tone; silver adds more contrast and punch. For the times a reflector alone won’t fix a bad shadow shape, here’s how to think about shadow creatively instead of just eliminating it.
No reflector on hand? A white bedsheet or a diffusion panel between the sun and your subject softens hard light in seconds. Even a car windshield’s worth of open shade works in a pinch.
Window light is the classic version of this. Position your subject so the window hits at 45 degrees rather than straight on — flatter shape on the face, and you skip the need for extra gear entirely.
A white wall, light pavement, even a white car hood can act as a natural diffuser. Free light modification, and most people walk right past it without noticing.
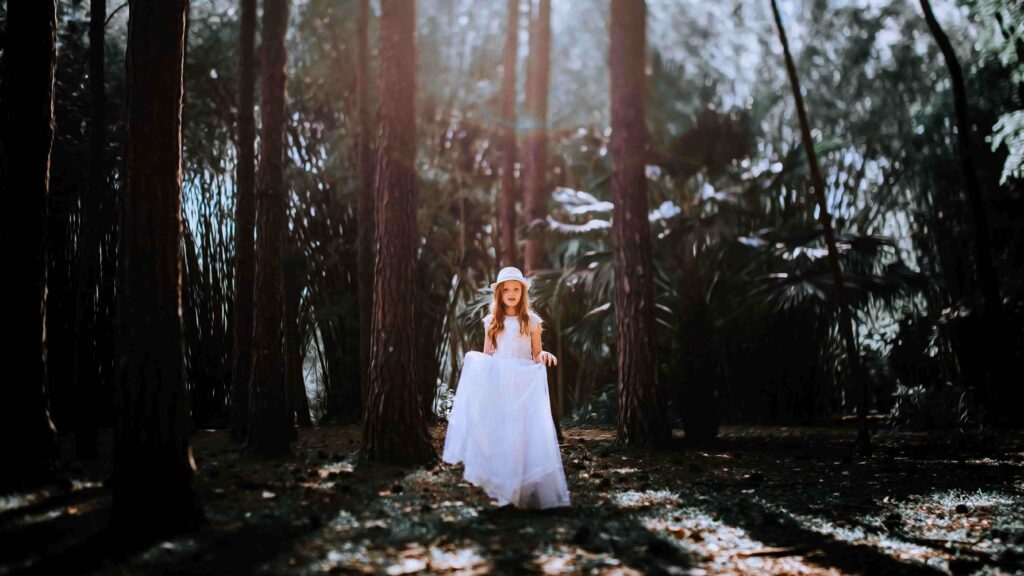
Loop lighting — a small shadow off the nose looping toward the mouth — is one of the more flattering patterns for natural light portraits, and you get it just by angling a subject slightly off from a single source. Here’s a full breakdown of how to spot and shape that pattern if portraiture is your main focus.
This is also where editing tools earn their keep. Getting the light right in-camera is 80% of the job, but for the last stretch — skin tones, subtle color balance, catchlight cleanup — something like Aperty AI handles a lot of that automatically, which matters when you’re editing 400 images from one session and don’t have three hours to spend on each frame.
Shooting under trees creates dappled patches — bright spots scattered across the background that pull the eye from your subject. Green foliage close to skin also casts a tint that’s a pain to correct later. Move a few feet, or shoot wider open to blur the dapple into something less distracting.
A doorway, an archway, an alley opening onto a bright street — these act as funnels. Your subject stays even while the background can go bright or dark depending on where you meter, and how far behind the subject that background sits.
Golden hour and blue hour dominate landscape work for the same reason they work for portraits — low angle, long shadows, warm tone. Midday tends to flatten a scene unless there’s dramatic weather involved. Post-processing often needs a lift here too; sky replacement in something like Luminar Neo can salvage a flat overcast sky without faking the rest of the frame. For more on composing landscapes around available light, there’s more here.
Window light near noon, diffused through a sheer curtain, gives even and soft results for product shots — no studio needed. A single reflector opposite the window fills the shadow side.
None of this replaces reps. Read the light, position for it, let the settings follow — that order, not the reverse. The photographers who get natural light photography right aren’t the ones with the best gear. They’re the ones who show up early enough to watch overcast light turn even, or golden hour turn low, before they ever raise the camera.
What equipment or lenses work best for this kind of shooting? A fast prime — f/1.8 or wider — matters more here than in flash work, since you’re relying entirely on the light around you. A 50mm or 85mm covers most portrait photography needs; a reflector and diffusion panel round out the kit.
How do you edit or color-grade photos shot in available light? Start with white balance correction since the color shifts constantly, then adjust shadows and highlights separately rather than global exposure — these scenes usually have a wider dynamic range than flash-lit ones.
Can you shoot indoors or at night using only available light? Yes — window light indoors and moonlight or streetlight at night both count. Expect to push ISO higher and shutter speed lower, and expect more noise than daylight shooting.
How do you meter or set exposure correctly? Spot meter on your subject’s face, not the whole scene, especially in backlit or high-contrast situations — otherwise the camera averages the exposure and underexposes your subject to protect the highlights.
Is this better for beginners than flash or studio lighting? It’s cheaper to start with and forces you to actually understand light source, direction, and quality — but it’s less forgiving on timing. Flash is more predictable once you own it; learning to use natural light is more accessible on day one.
