
Donec efficitur, ligula ut lacinia
viverra, lorem lacus.
Donec efficitur, ligula ut lacinia
viverra, lorem lacus.
Most photographers chase golden hour but lose it before they even set up. The light moves fast, the window is short, and the settings that worked two minutes ago suddenly don't. Here's how to actually shoot it right...
There’s a window — roughly 20 to 40 minutes after sunrise or before dusk — where the light does something no studio strobe can fully replicate. Miss it by ten minutes and you’re shooting in flat afternoon light. Nail it and even a mediocre composition looks cinematic.
This guide breaks down what golden hour actually is, when to find it, how to shoot it, and how to fix what you capture in post.
Golden hour is the period just after sunrise and just before dusk when the sun sits low on the horizon. At that angle, light travels through more of Earth’s atmosphere — scattering shorter blue wavelengths and letting warm orange and amber tones dominate. The result: soft, directional light that wraps around subjects instead of punching straight down at them.
For photographers, this matters because most of the usual problems — harsh shadows, blown highlights, unflattering skin tone — either disappear or become workable during this window.
Not really. “Magic hour” is the same thing, just the term cinematographers tend to use. On film sets it often describes the final few minutes before the light disappears entirely. Both terms refer to the same conditions in practice — use either.
Blue hour follows the golden window at dusk (or precedes it at dawn). The sun has dropped below the horizon and the sky shifts from amber-gold to deep indigo. The light is cooler, more diffused, and has an almost dreamy quality — particularly useful for cityscapes where you want sky to balance artificial illumination.
Golden hour is warm and punchy. Blue hour is cool and quiet. Both are worth staying for, which is why you should always plan to arrive before golden hour starts and stay until after blue hour ends.
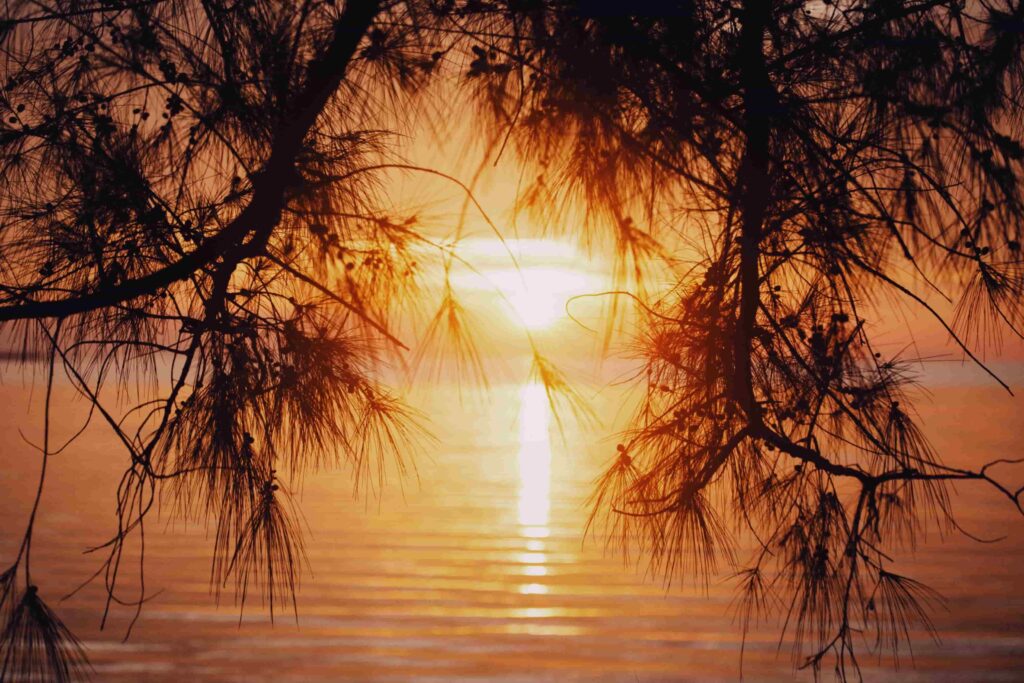
The honest answer: it depends on where you are and what time of year it is. At higher latitudes in summer, this window can stretch past 90 minutes. In tropical locations or in winter, it can compress to under 20. Plan for the short version and you’ll never be caught off guard.
Dusk gets more attention — partly because most people aren’t awake at 5 a.m. But the early-morning version has real advantages. Fewer people, calmer wind, and the light builds gradually so you have more time to adjust before it peaks. Landscape and beach photographers often prefer it for exactly that reason.
Evening light tends to run slightly warmer on average. The atmosphere accumulates more particles throughout the day, which can intensify the orange cast toward dusk. Worth knowing, not worth obsessing over.
Don’t guess. Use PhotoPills or The Photographer’s Ephemeris — both show exact rise and set times plus the direction the sun will travel. PhotoPills has an AR mode that lets you visualize where the sun will be from any specific location. For a quick daily check, Golden Hour One shows the window for your current coordinates in a single tap.
When the sun is overhead, it’s a hard point source. Shadows are sharp, skin texture reads as rough, and foreground elements get flattened. Near the horizon, the sun is effectively a much larger, softer source — similar in character to a giant diffused softbox. Edges go soft. Skin tone looks natural rather than harsh.
This is why portrait photographers specifically chase this window. You’re getting professional-quality diffusion for free. Understanding how hard light photography behaves makes you appreciate this contrast even more.
The warmth isn’t just aesthetic — it adds visual separation. A lit foreground against a darker background gains three-dimensional quality that flat midday light erases entirely. Foreground elements catch this low-angle orange and gold in a way that creates natural depth layering without any compositing.
Low-angle light skims across surfaces. Grass, sand, rock faces — all of it shows texture that overhead light would erase. Shadows become compositional tools rather than problems to fix. This directional quality is also what makes backlight and silhouettes possible — and what makes them look so dramatic at this time of day.
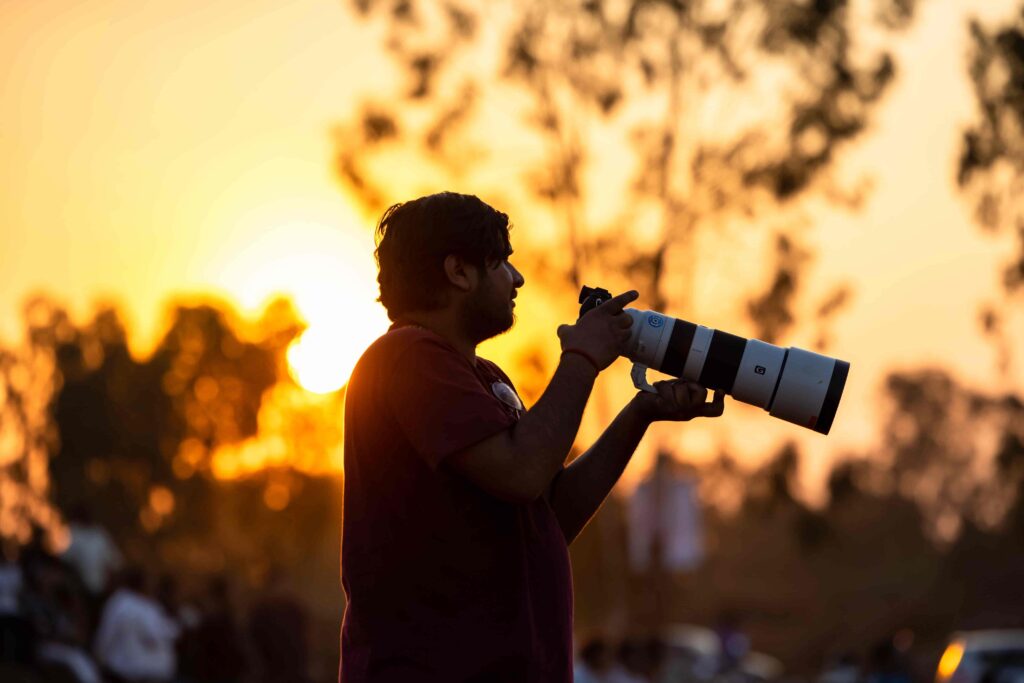
Showing up five minutes before dusk is how you miss it entirely. Scout your location earlier in the day. Know which direction the light will be coming from — and decide whether you’re shooting with it, against it, or at a 45-degree angle. All three give you completely different results. None is wrong, but you need to choose before the clock starts.
The 20 minutes before golden hour — the tail end of regular afternoon light — is often overlooked and genuinely useful. The transition from the golden window into blue hour is where some of the most interesting skies appear. Packing up at the exact moment of last light is a mistake most photographers only make once.
Position your subject between you and the sun. Expose for the sky — you get a clean silhouette. Expose for your subject — you get a rim-lit result with a glowing background. Know which you want before you raise the camera, because once the moment shifts, it’s gone.
Stop down to f/11 or f/16 and position the sun just at the edge of your subject. You get a controlled starburst rather than an ugly blob. Rim lighting at this time of day is essentially a free loop lighting setup — directional, flattering, and requires zero gear to produce.
The light changes every two to three minutes. A composition that worked at 7:42 p.m. looks different at 7:47. Shoot frequently, review on the back of the camera, and catch overexposed skies before the window closes.
Set it to Daylight (5200–5500K) or Cloudy (6000K) if you want to preserve the natural warmth. Auto white balance will often try to neutralize it — which defeats the entire point. If you’re shooting RAW, you can adjust this later, but seeing accurate color on your screen while shooting helps you make better decisions in the moment.
For portraits, f/1.8 to f/2.8 gives subject separation with a smooth, diffused background. For landscapes where everything needs to be sharp, f/8 to f/11 is standard. Keep shutter speed above 1/250s for any movement; slower for static scenes. Understanding how the exposure triangle works together becomes critical as the light fades — you’ll be adjusting across all three controls simultaneously.
Early in the window, ISO 100–200 is usually sufficient. As the light drops, you’ll push to 800 or 1600. Watch the shadow areas — that’s where noise appears first. Don’t wait until your shutter speed drops below 1/60s handheld before making the adjustment.
Non-negotiable. JPEG at this time of day clips highlight and shadow detail you’ll want in editing. A blown sky in JPEG is a deleted image. The same sky in RAW is often fully recoverable.
Position subjects facing the light for even, flattering illumination. Turn them 90 degrees for sidelit drama. Watch one thing though: when the sun is very low and orange, skin tone can shift toward an unflattering burnt look. Pull orange and yellow saturation back slightly in editing and it resolves cleanly.
Sand catches and reflects the low-angle orange light, which amplifies the overall warmth of a beach scene. Leading lines — shoreline, piers, wave patterns — gain visual power when sidelit. Use a tripod. The light fades fast and a blurred shot at f/8 and 1/15s is useless.
Build the timeline backward from dusk. Know exactly how many minutes you have. Communicate it to clients — they won’t always understand why you’re checking your phone. That 25-minute golden window is often where the best images of the entire day come from.
The biggest challenge is dynamic range — bright sky, darker foreground. Pull Highlights to -60 or -80, push Shadows up. The Whites and Blacks sliders let you fine-tune contrast without losing the warmth. Don’t overexpose and assume you’ll fix it later — recovery has limits.
If you shot RAW, you have full control. Warming to 6500–7000K emphasizes that characteristic quality. Cooling to 5000K gives a more neutral result. Neither is more correct — it depends on the image and the mood you’re after.
In the HSL panel, lift orange luminance slightly to open up lit areas. Reduce yellow saturation by 5–10 points if the scene reads as too artificial. Small moves make a significant difference here — don’t push past 15 points on any single slider before evaluating the overall balance.
If flare from the low sun is degrading sharpness or adding unwanted color casts, how to remove glare from photos covers the post-processing fix.
When dynamic range genuinely exceeds what a single exposure handles, bracket three shots and blend them. Most of the time a well-exposed RAW file is enough. Over-relying on HDR produces that over-processed look that dates images fast — use it only when you actually need it.
Two editors that handle this type of work particularly well:
Luminar Neo has become a go-to for photographers who shoot in complex light. Its AI-powered sky replacement and portrait enhancement tools work well for golden hour images specifically — when you need to recover a blown sky or balance exposure between a bright background and a shadowed subject without spending an hour in manual masking. The interface is fast, and the results don’t look over-processed if you keep the sliders in check.
For portrait-focused work, Aperty AI is worth looking at. It automatically adjusts lighting, colors, and fine details in portrait images — useful after a golden hour shoot when you’ve got 200 frames to work through and skin tone correction needs to be consistent across the batch. It handles that warm-to-neutral color shift efficiently, whether you’re a working professional or still building your editing workflow.
Neither replaces knowing what you’re doing in Lightroom or Capture One. But both save significant time on the tasks that are tedious rather than creative.
Can you shoot golden hour photography in overcast or cloudy weather? Solid cloud cover blocks the direct warmth and directionality entirely. Broken clouds, however, can be dramatic — gaps during the last light of day create layered, high-contrast skies. Thin overcast softens the light even further, which can be flattering for portraits even without the characteristic orange and amber tones.
How do you meter exposure when shooting into the sun? Spot meter on your subject’s skin or a mid-tone in the scene — not the sky. If you meter for the sky, your subject goes black. If you expose for the subject, the sky blows out. The fix is HDR blending, or using a reflector to bounce light onto the shadowed side of the subject.
What lens is best for golden hour photography? A 50mm or 85mm prime at f/1.8 is standard for portraits — fast, flattering compression, smooth background blur. For landscapes, a wide-angle (16–24mm) captures more sky and horizon. A 70–200mm lets you compress the scene and pull the sun closer visually, which is useful for both beach and lifestyle work.
How does this window differ across seasons and locations? At higher latitudes in summer, it can last 60–90 minutes because the sun moves at a shallow angle across the sky. In tropical locations or winter, expect under 20 minutes. In winter, the sun also stays lower throughout the entire day — which means more directional, usable light even outside the strict golden window.
How do you recreate this look in a studio? Use a large diffused LED panel at a very low angle — 10 to 20 degrees above floor level — set to around 3200–4000K. Add a subtle orange gel if needed. You won’t replicate atmosphere, but the directional, soft, warm quality is achievable. It’s more work than going outside. But sometimes the schedule doesn’t care about the weather.
