
Donec efficitur, ligula ut lacinia
viverra, lorem lacus.
Donec efficitur, ligula ut lacinia
viverra, lorem lacus.
Most portrait photography advice stops at camera settings. This guide goes further — covering lighting, posing, lens choice, and how to actually connect with your subject so the technical stuff has something real to work with.
Portrait photography is one of those disciplines where technical knowledge and human instinct have to work together. You can nail the exposure perfectly and still end up with a flat, lifeless photo. This guide covers both sides — the camera stuff and the people stuff — so you actually walk away with shots worth keeping.
This sounds obvious. It isn’t.
A subject who genuinely wants to be photographed gives you something no lens or lighting setup can manufacture — presence. Someone you know, even a friend or family member, is often the best place to start. They’re relaxed. They trust you. That shows up in the eyes.
Strangers can work, but you need to earn their comfort before you earn their expression. Don’t rush straight to shooting. Talk first. Show them a test shot on the back of the screen. People relax when they see they look okay.
Portrait photography is no different from any other collaboration — the result depends on both people.
Before you pick up the camera, explain what you’re going for. Reference images help enormously here. “I want something moody with soft backlight” means nothing to someone who doesn’t think in photography terms. Show them a photo instead. Takes 30 seconds and saves 20 minutes of confused repositioning.
A quick tip: compliment early and mean it. Not generic flattery — something specific. “That jacket reads really well in this light” is more useful than “you look great.” It directs attention, builds rapport, and gives your subject something concrete to feel good about.
Focal length changes faces. That’s not a metaphor — it’s geometry.
Wide-angle lenses (35mm and below) distort facial features when you’re close, exaggerating noses and foreheads. Telephoto lenses (85mm and up) compress features and create background blur that separates your subject cleanly from the environment. The 85mm f/1.8 is a workhorse lens for portrait photographers for exactly this reason.
The 50mm lens sits in an interesting middle ground. It’s close to how the human eye sees, which makes portraits feel natural rather than constructed. For beginners, a 50mm f/1.8 is also cheap. Under $150 for Canon and Nikon versions. Hard to beat that as a starting point.
That said — if you’re shooting environmental portraits where the location is part of the story, a slightly wider focal length can actually work in your favor.
For a deeper look at how focal length affects depth and dimension, this guide on depth of field and bokeh is worth your time.
A wide aperture — f/1.8 to f/2.8 — is the standard starting point for portraits. It creates shallow depth of field, which throws the background out of focus (bokeh) and draws the eye directly to your subject’s face. The narrower the aperture, the more background detail competes for attention.
One thing to watch: at f/1.4 or f/1.8 with a close subject, your depth of field is razor thin. Focus on the near eye, and the far eye can go soft. That’s sometimes intentional. Usually it isn’t.
For a stationary subject, 1/125s is a safe minimum. Faster if they’re moving or if you’re handholding at longer focal lengths. The rule of thumb — your shutter speed should be at least 1/focal length — still holds.
ISO: keep it as low as the light allows. ISO 100–400 in good light, pushing to 800–1600 indoors or in low light. Noise in portraits shows up most in skin tones. It’s not always fatal, especially with modern mirrorless cameras, but it’s worth managing at the capture stage rather than fixing in post.
The exposure triangle explains how these three variables interact if you want to go deeper on this.
Lighting is where portraits are made or broken. This is where most beginners underinvest their attention.
The hour after sunrise and the hour before sunset — golden hour — gives you warm, directional light that’s flattering on skin. It’s soft, it wraps around faces nicely, and the color temperature does a lot of the heavy lifting for you.
Avoid harsh direct sunlight between roughly 10am and 3pm. It creates hard shadows under the nose and eyes, causes subjects to squint, and generally looks unflattering. If you have to shoot in those conditions, move your subject into open shade. Even light from a cloudy sky is often better than direct sunlight at noon.
A large window is one of the best light sources you have access to — free, everywhere, and endlessly adjustable by how you position your subject relative to it. Place your subject at a 45-degree angle to the window and you get a natural loop lighting effect. Face them directly toward it for flat, even light. Turn them away and you get dramatic shadow play.
For more on how to use shadows intentionally in portraits, this breakdown of shadows in photography covers the technique in detail.
A 5-in-1 reflector — $20–30 on Amazon — lets you bounce light back into the shadow side of a face and fill in harsh shadows. Silver side for more punch, white side for something softer. In outdoor portraits, having an assistant hold a reflector is often the single biggest upgrade you can make without buying new gear.
If you want to go further with artificial light modifiers, hard light photography techniques and loop lighting are both worth understanding as you develop your portrait lighting toolkit.
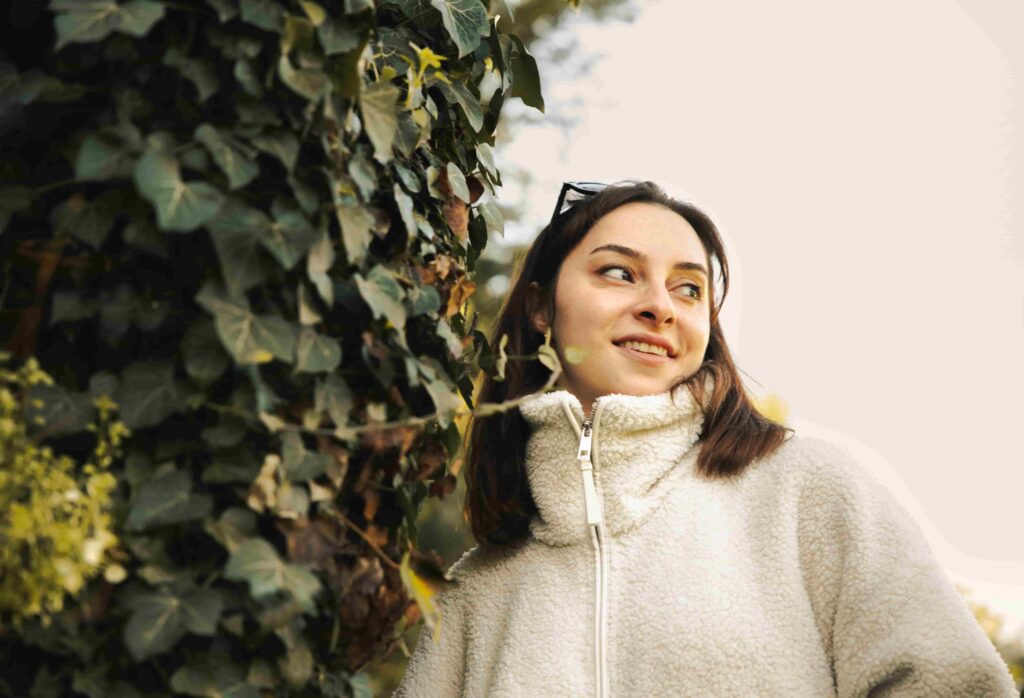
Scout before you shoot. Walk the location at the same time of day you plan to shoot. Note where the light falls, where you get open shade, and what the background looks like at different focal lengths. A background that looks busy at 50mm can completely dissolve at 85mm f/1.8.
Look for locations with visual texture — brick, foliage, water — that add depth without competing with your subject. And pay attention to the ground. Terrain matters, especially if you’re working with someone in formal wear or heels.
Pay attention to foreground elements too — placing something between you and your subject at certain focal lengths can add dimension that makes a portrait feel more cinematic. There’s a good breakdown of this in this guide on foreground in photography.
Indoors gives you control. You control the light, the backdrop, the temperature, the noise level. That control also removes excuses — if the portrait doesn’t work indoors in a controlled setup, it’s a composition or direction problem, not a location problem.
For simple home setups, a plain wall in a neutral color near a large window is enough to start. You don’t need a backdrop stand or studio strobes to take a good portrait.
Sharp eyes are non-negotiable. In any portrait, the viewer’s gaze goes straight to the eyes. If they’re soft, the photo fails — regardless of how good everything else is.
Use eye autofocus if your camera supports it. Sony, Canon R-series, and Nikon Z cameras all have reliable eye-AF now. On older systems or manual focus, aim for the near eye when shooting at wide apertures.
Straight-on shoulders can make subjects look wider and more rigid. Angling the body 30–45 degrees to the camera is almost always more flattering. Drop the near shoulder slightly. It’s a small adjustment that changes the entire energy of the pose.
Hands are where people freeze up. Give them something to do — hold a prop, rest on a surface, interact with clothing. Hands dangling at the sides never look natural. They aren’t. Nobody stands like that in real life.
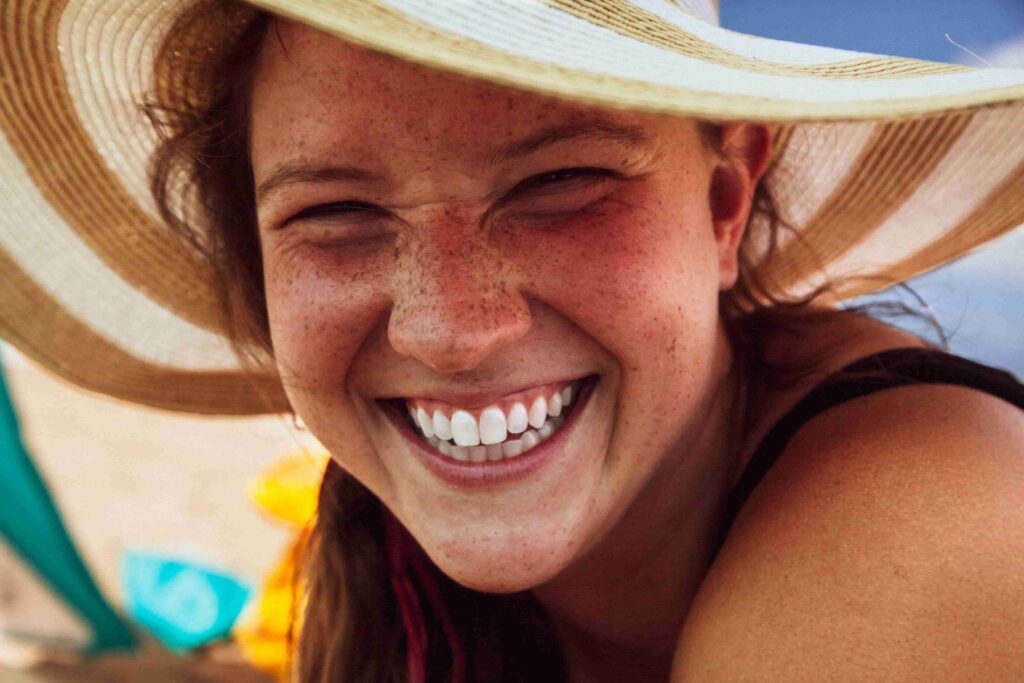
Depends entirely on what the portrait is for. A forced smile is worse than no smile at all — you can see it immediately. Instead of asking someone to smile, make them actually laugh. Tell a bad joke. Say something self-deprecating. The moment of reaction after the request often produces the best frames.
Colour coordination between subject clothing, background, and light source temperature affects the entire feeling of a portrait. Warm tones — ochre, cream, rust — feel intimate. Cooler, desaturated palettes read as more editorial or serious.
White balance matters here. Auto white balance can drift across a shoot. Set a custom white balance or shoot in RAW and correct in post. Skin tones especially are sensitive to colour temperature shifts — a slightly warm image can look flattering, while a cool cast can make skin look drained.
Portrait photography covers a wide range of approaches. Headshots are tight, clean, and functional — used for LinkedIn, acting, corporate profiles. Environmental portraits pull back to include the subject’s context, showing where they work or live. Lifestyle portraits are somewhere in between — candid-feeling, but usually directed.
Knowing which style you’re shooting changes every other decision: lens choice, location, lighting, even how you direct the subject. Check out headshot photography if you want to go deeper on that specific end of portraiture.
Shooting wide open all the time. f/1.4 is not always better. With two people in frame, one of them will be out of focus. Stop down to f/2.8 or f/4 when you need depth in the scene.
Ignoring the background. A lamp post that appears to grow out of someone’s head, a wheelie bin in the corner, a distracting sign — these things kill otherwise good portraits. Check the frame before you shoot, not after.
Placing the subject dead center every time. The rule of thirds exists for a reason. Eyes positioned on the upper third line, subject off-center — these compositions feel more natural. Not always, but often enough to make it your default.
Skipping post-processing. Even a well-exposed portrait benefits from minor adjustments in editing. Skin tone correction, dodging and burning to add dimension, a slight sharpening pass on the eyes. Tools like Luminar Neo handle a lot of this quickly — its portrait enhancement features adjust skin, eyes, and overall tone with enough control that you’re not just applying a filter. Aperty AI goes specifically deep on portrait retouching, using AI to handle lighting and color adjustments automatically, which is useful when you’re working through a large batch from a shoot.
Not reviewing shots during the session. Chimp (check the LCD) occasionally. Not obsessively — you’ll miss moments — but enough to catch a focus issue or exposure problem before you’ve shot 300 versions of it.
Start with aperture priority at f/1.8–f/2.8 for single subjects, ISO as low as the light allows, and shutter speed above 1/125s. Adjust from there based on available light and how much depth you want in the scene.
The 85mm f/1.8 is the most widely recommended portrait lens — it flatters facial features and produces natural background separation. A 50mm f/1.8 is a solid, affordable alternative, especially for environmental portraits.
Talk before you shoot. Show them test shots. Give specific, genuine feedback — not generic compliments. The more relaxed the session feels, the better the expressions will be.
Golden hour natural light or open shade outdoors. A large window at 45 degrees indoors. For more control, a single softbox or speedlight with a modifier replicates soft window light in any space.
It depends on the style. Headshots frame from the chest up. Three-quarter portraits cut around the knee. Full-body portraits include feet. Avoid cropping at joints — cutting at the knee or elbow looks awkward. Crop between joints instead.
