
Donec efficitur, ligula ut lacinia
viverra, lorem lacus.
Donec efficitur, ligula ut lacinia
viverra, lorem lacus.
Most people look up at a dark sky and see very little. A camera on a tripod sees everything — the galactic core, thousands of stars, the landscape lit by nothing but starlight. This guide shows you exactly how to get there: the right gear, the right settings, and how to actually compose and edit a night sky photo worth keeping.
The first time you photograph stars and something actually comes back, it’s almost jarring. You’ve driven somewhere dark, it’s past midnight, and to your naked eye the sky looks like a faint smudge above the treeline. Then you open a 30-second frame and there’s a dense band of light arcing across the image that your eyes couldn’t even register.
That gap — between what you see and what the sensor captures at f/2.8 and ISO 3200 — is the whole reason night sky photography is worth learning. The sky is always doing this. Most people just never slow down long enough to catch it.
This guide covers everything you need to go from your first attempts at taking pictures of the night sky to repeatable, technically solid results: gear, settings, planning, composition, and editing.
Planning is not optional here. Unlike portrait or street photography, where you can adapt on the fly, night sky photography punishes the unprepared. You can’t see well enough to improvise location, and wrong settings at 1 AM mean driving home with nothing.
For photographing the night sky, what matters most is sensor size and lens speed. Full-frame cameras — Sony a7 series, Nikon Z series, Canon R series — handle high ISO with noticeably less grain than crop sensor cameras (APS-C). That said, a crop sensor camera is not disqualifying. It requires more aggressive processing and lower ISO ceilings, but produces real results.
The lens matters more than the body. You need something wide and fast. The practical threshold is an aperture of f/2.8 — that’s the f-stop floor, not a suggestion. Wider than 24mm is strongly preferred on full frame. A wide angle lens gives you a large section of sky in one frame, and the wider the focal length, the longer the shutter speed you can use before stars trail. The Rokinon/Samyang 14mm f/2.8 is the standard entry-level recommendation: around $280, manual focus only (which is fine — you’ll be using manual anyway), and it renders usable images across most of the frame. If you shoot this regularly, the Sigma 14-24mm f/2.8 is a meaningful upgrade in corner sharpness and coma control.
A sturdy tripod is non-negotiable. Not “a tripod” in the abstract — one that won’t flex at the head under a camera and wide prime on uneven ground in wind. Carbon fiber is lighter for hiking; aluminum is heavier but cheaper and stable enough if you hang your bag from the center column for ballast. Look for a load rating that gives you headroom.
A cable release or remote shutter prevents camera shake at the moment of capture. Most modern mirrorless cameras have a built-in intervalometer, which handles this. If yours doesn’t, a basic wired cable release is $10–15. For single frames, the 2-second self-timer works as a workaround.
A red headlamp. This sounds minor. It’s not. White light destroys your night-adapted vision in seconds — recovery takes 20+ minutes. A red flashlight or headlamp with a red mode keeps you functional in the dark. Bring it every time.
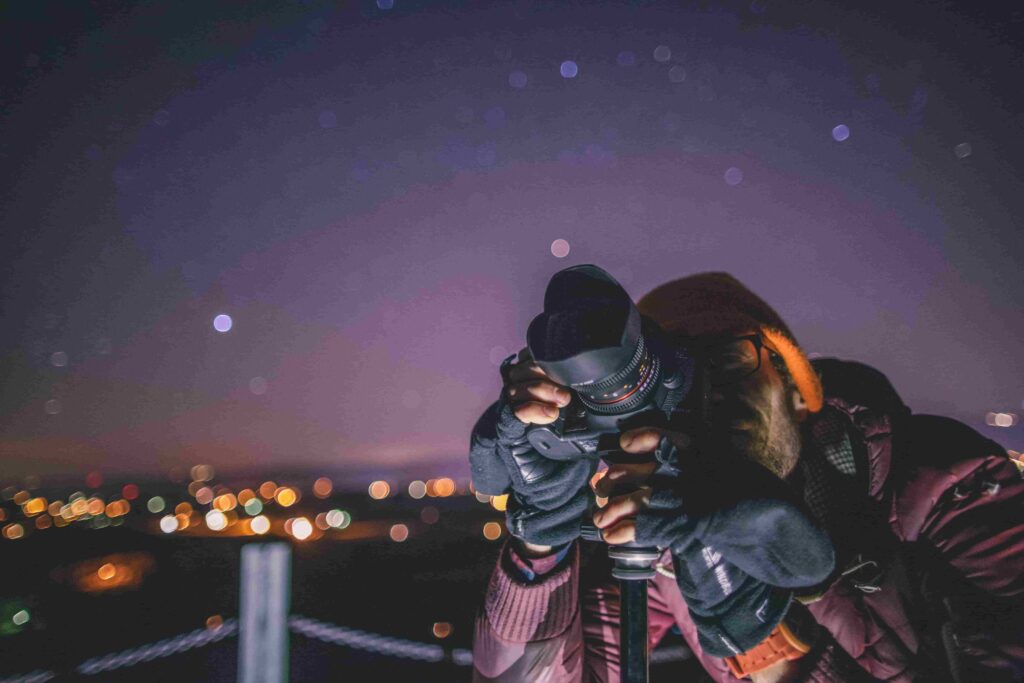
Three variables determine whether you get a shot or go home empty-handed: light pollution, moon phase, and cloud cover.
Light pollution is the most permanent constraint. The Bortle scale runs from 1 (remote dark sky) to 9 (city core). Bortle 4 or below is where the galactic core starts looking genuinely photogenic. Use lightpollutionmap.info to find dark skies near your area.
Moon phase is the most commonly overlooked variable. A full moon overwhelms the night sky — it kills the Milky Way in the frame the way a floodlight kills a candle. Shoot within 5–7 days of the new moon. A thin crescent sets early and leaves fully dark skies by 10 PM. The PhotoPills app or Stellarium shows moon rise/set times, where the galactic core will be, and when it peaks — all mapped to your specific location and date. Worth learning before your first shoot.
Cloud cover is the wild card. Clear Outside gives astronomy-specific forecasts (cloud layers by altitude) and is more reliable than standard weather apps for this use case.
The Milky Way season in the Northern Hemisphere runs roughly May through October, with the core highest in the southern sky during July. By November, you’ve missed it for the year.
Work through these in a fixed order. Don’t try to set everything simultaneously — one wrong variable at night is hard to isolate.
Start at your widest aperture. For most dedicated astro lenses, that’s f/2.8. Some photographers stop down one click to f/3.2 to reduce coma — the comet-like star distortion that affects edges at wide apertures. Worth testing on your specific lens once you’re comfortable. For your first shoot: widest aperture, leave it there.
Stars move relative to the camera because Earth rotates. Long enough and they streak across the frame. The 500 rule gives you a ceiling: divide 500 by your focal length to get maximum shutter speed in seconds before trailing becomes visible. At 20mm that’s 25 seconds; at 14mm it’s around 35 seconds. At 24mm you’re looking at about 20 seconds.
On a crop sensor camera, use the 300 rule instead, or multiply focal length by 1.5 first. At 14mm on APS-C, the effective focal length is ~21mm, so 500 ÷ 21 = ~24 seconds. The NPF rule is more precise and factors in pixel pitch — the PhotoPills app has it built in.
If you want to push past 30 seconds at lower ISO, a star tracker — iOptron SkyGuider Pro or Sky-Watcher Star Adventurer (both around $400) — rotates to match Earth’s rotation and keeps stars in focus at any shutter duration.
Start at ISO 3200 on a full-frame camera. That’s the baseline where you’re gathering enough light in a 20–25 second window without grain becoming unmanageable. Push to ISO 6400 only if the scene is too dark at 3200 and you’ve already maxed shutter speed. On a crop sensor camera, ISO 1600 is often the better starting point.
Don’t chase low ISO trying to keep files artificially clean. A severely underexposed file at ISO 800 produces worse results than a properly exposed frame at ISO 3200 when you lift shadows in editing.
Autofocus fails in the dark. The camera hunts, finds nothing, and returns soft blobs instead of stars in focus. This mistake ruins more first-night attempts than any wrong setting.
Manual focus via live view is the method:
One practical note: the ∞ engraving on your lens barrel is often not the actual sharpest infinity point. Some lenses focus slightly past it; others fall short. Find it empirically in live view, then mark the barrel with a piece of tape so you’re not repeating the process after every move.
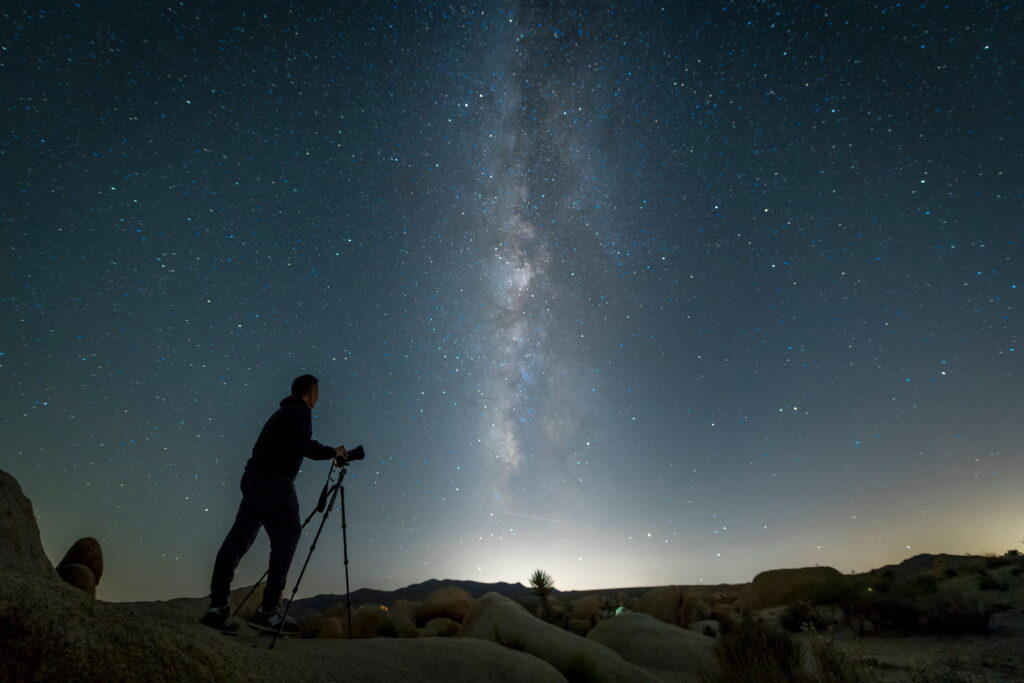
The specific approach shifts depending on what you’re shooting. These three scenarios cover most of what you’ll actually go out to capture.
The galactic core rises in the southeast and arcs toward the southwest in summer. You’re deciding where to stand relative to that arc — do you want it rising out of a ridgeline, reflected in a lake, or framed against a rock formation? That decision happens before the tripod goes up.
Settings to capture the Milky Way: f/2.8, ISO 3200, shutter following the 500 rule, Kelvin white balance set to 3800–4200K for warm star color or 5000K for neutral rendition. Always shoot RAW — the core requires shadow recovery and targeted processing that destroys JPEGs. The full approach including location planning is in the Milky Way astrophotography guide.
This is the standard result — sharp, pinpoint stars against a dark sky, no motion blur. The 500 rule governs your shutter ceiling. Nail focus in live view first, take a test frame, and zoom into the corners on your camera screen to check star sharpness. If coma is visible at your widest aperture, stop down to f/3.2 and raise ISO to compensate.
Here you want stars to move — long arcs across the frame that reveal Earth’s rotation. Point toward Polaris for concentric circles; point elsewhere for diagonal sweeps toward the horizon.
Two approaches work: one very long single frame (10–30 minutes at f/4, ISO 200–400) or dozens of 30-second frames stacked in StarStaX (free) using lighten blend mode. Stacking is more practical — you can stop when the trail length looks right and you’re not committed to 20 minutes blind. An intervalometer is required; set it to fire continuously and let it run. Stacker software like StarStaX or Sequator handles the merge automatically.
A technically clean frame of nothing but stars is impressive data. As a photograph, it’s empty. Composition in night sky work follows the same logic as landscape photography — you need an anchor, a relationship between elements, a reason the eye moves through the frame.
The human eye processes scale by comparison. A mountain range under the Milky Way reads as vast because you understand how large the mountain is. A lone tree against the core reads as quiet and solitary. Neither is wrong — but choose deliberately. Wide angle lenses exaggerate the foreground relative to the sky, which works in your favor. A rock that looks modest in daylight becomes a dominant presence in the frame at 14mm. Use that distortion intentionally.
Consider the horizon line too. Placing it very low gives maximum sky; raising it to the middle third creates tension between land and stars. Both can work — but placing the horizon dead center rarely does.
This is harder than it sounds. In daylight you can scout. At 1 AM, you’re working from whatever you identified in advance. Scout in daylight or on a previous trip whenever possible.
Strong foreground elements for night sky work: lone trees, barns, water reflections, rock formations, a person with a flashlight or headlamp for scale. Moving water requires a separate longer shutter frame if you want blur — blend the sky and foreground as separate layers in post. The depth logic behind why foreground transforms a wide image is covered in this foreground in photography guide — same principles apply at midnight as at noon. The rule of thirds in photography is also worth reviewing before you set up — at night you can’t recompose easily once the tripod is locked.
The edit is where a technically solid frame becomes an actual image. Night sky photography requires deliberate post-processing — the RAW file looks flat, grainy, and underwhelming until you work it.
A Milky Way JPEG has already been processed by the camera’s internal algorithms: grain reduction applied, tone curve baked in, white balance locked. You can’t undo those decisions. RAW format gives you unprocessed sensor data — you control how grain reduction is applied, how much detail is preserved in the core, and how shadows are lifted. For this genre specifically, it’s not a stylistic preference. It’s a workflow requirement.
Work in Lightroom or Capture One in this sequence:
Grain reduction first. In Lightroom, AI Denoise (Detail panel) works on the RAW data rather than the processed image, preserving star detail better than legacy luminance sliders. Run it at 30–50 before any other adjustment. Check the histogram after — you want to see the sky tones separated from black, not crushed against the left wall.
Exposure and shadows. Lift brightness to bring up the core. Pull highlights to keep bright star points from clipping. Raise shadows to reveal the foreground and fainter stars — but watch the blacks. Lifting them too far removes depth from the sky.
Dehaze. A setting of 15–25 adds contrast to atmospheric haze and pulls structure out of the galactic core that flat brightness adjustments don’t reach.
Color. The core naturally renders orange-red (ionized hydrogen) and blue-white (hot young stars). In the HSL panel, push the orange/red channel to enhance core warmth; use blue/purple for cooler regions. Keep it measured — over-saturated astro images read as processed from across the room.
For a faster workflow that handles grain reduction, colour balance, and sky enhancement automatically, Luminar Neo is worth looking at. Its sky-specific tools work well on night sky images and reduce the time spent on repetitive adjustment cycles significantly. Check the histogram at each stage — it tells you immediately if shadow detail is gone or highlights are clipping before you export.
Wrong moon phase. The most common reason a first shoot fails entirely. A half moon or larger washes the core — no settings fix it. Check the lunar calendar before you plan the date.
Trusting the ∞ mark on the lens. The engraved infinity mark is decorative on many lenses. Stars in focus come from live view, not from the barrel marking. Do it every time.
Image stabilization left on. On a tripod, IS/IBIS introduces micro-movement that blurs stars. Turn it off before capture.
No location scouting. You cannot compose a compelling image in a place you’ve never seen, at night, for the first time. Visit the location in daylight at least once before the shoot.
Forgetting manual white balance. Auto white balance shifts between frames and renders star colour inconsistently across a sequence. Set Kelvin white balance once — 3800–4200K is a reliable starting point — and leave it.
Pulling shadows on a JPEG. This compounds badly. Shoot RAW, apply grain reduction first, then work the tonal adjustments. The opposite order produces significantly worse results and you can’t recover it.
Can I photograph the night sky with a smartphone, and which apps help most?
Modern flagship phones — iPhone 15 Pro and later, Pixel 9 series — have dedicated astrophotography modes that produce genuine results in Bortle 3–4 conditions. On a sturdy tripod with a 30-second Night Mode frame, they capture the galactic core. Not comparable to a full-frame camera at f/2.8, but real images. For planning, the PhotoPills app is the most complete tool regardless of what camera you use — it gives you AR overlay of where the core appears, moon data, and golden/blue hour times. Stellarium is free and excellent for star identification. Clear Outside handles cloud forecasting better than standard weather apps.
What is the best time of year to photograph the Milky Way from a specific location?
In the Northern Hemisphere, May through September for the galactic core. July is peak — the core is highest in the southern sky and the shooting window lasts from dusk until well past midnight. By October the window shrinks fast and the core sets earlier. For Southern Hemisphere photographers, February through October. Use Stellarium or the PhotoPills app for the precise rise time at your location and date.
How does light pollution affect night sky photos, and how do I find truly dark skies near me?
Light pollution scatters artificial light upward, raising the brightness of the sky background and reducing the contrast needed to see faint stars. Dark skies — Bortle 4 or below — are where night sky photography starts to look genuinely dramatic. Use lightpollutionmap.info to map satellite-measured darkness by Bortle zone. National parks, national forests, and high-elevation wilderness areas are typically your best accessible options.
What is image stacking in astrophotography, and how do I do it as a beginner?
Stacking averages multiple frames of the same scene to reduce random grain while preserving consistent signal. Ten frames of 25 seconds each produce a cleaner result than one 250-second single frame. Free tools: Sequator (Windows) and Starry Landscape Stacker (Mac, $20). Shoot 10–20 identical frames without moving the camera, import into the stacker software, export the stacked result, then bring it into Lightroom for colour and contrast work. Sequator also aligns a separate foreground layer automatically — useful when you want a sharp ground and tracked stars in one image.
Do I need a star tracker or equatorial mount to get sharp photos of stars?
No — not to start. The 500 rule gives you the shutter speed ceiling for pinpoint stars in focus without any tracking equipment. A tracker — iOptron SkyGuider Pro or Sky-Watcher Star Adventurer, both around $400 — rotates to match Earth’s rotation and eliminates trailing at any shutter duration, enabling longer captures at lower ISO for dramatically cleaner results. Learn the basics first. Add a tracker once you understand exactly what you’re trying to improve.
For portrait-specific editing — skin tone refinement, lighting correction, detail work — after a night shoot that included people, Aperty AI automates colour, lighting, and detail adjustments with minimal manual input. Useful when your astro composition includes a human subject and you want portrait-quality results without a separate full editing session.
